All the way back in 2007, I had a Bassman on my mind. A “blackface” Fender Bassman to be precise. These amps are a wonderful singularity in the tube amp world. The tone stack on the Bass instrument channel is truly unlike any other. A good one is a tone treasure for the ages.
I had just completed a restoration on one for a customer and it turned out so good I figured I needed one for myself. In fairly short order, a really roached out Bassman showed up on the local classified website and I pounced. I spent way more on it than I should have and indeed way more on the whole project, but in the end I was able to rescue this grand, old girl from oblivion.
This is a long post, so grab a beverage and settle in…
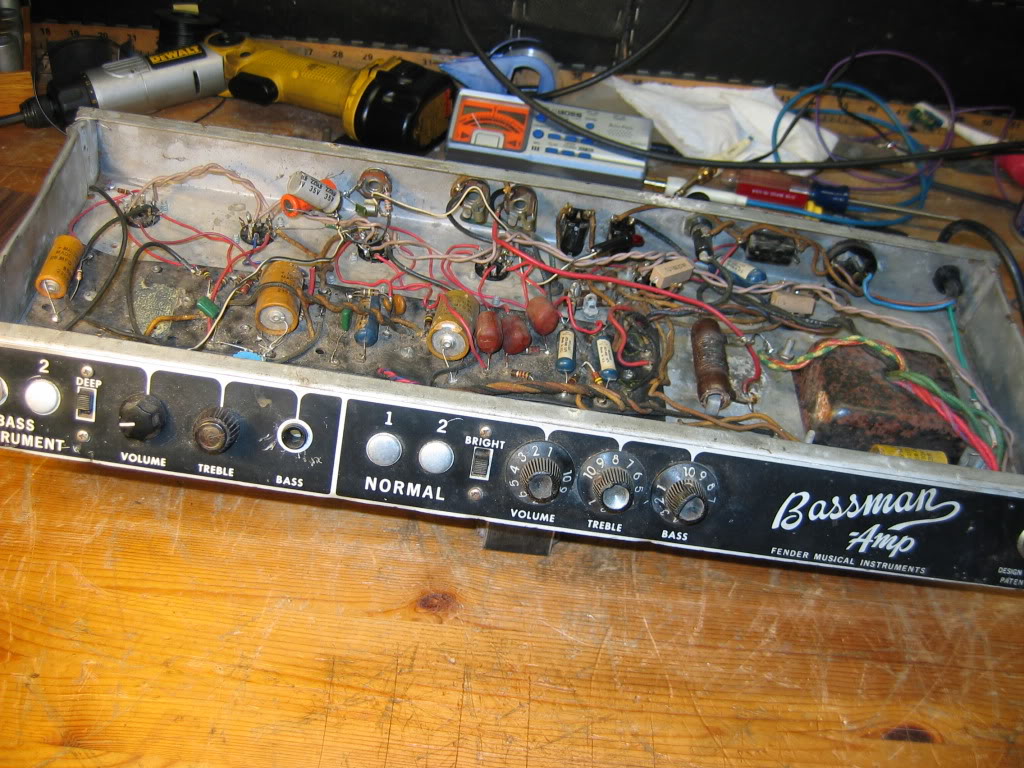
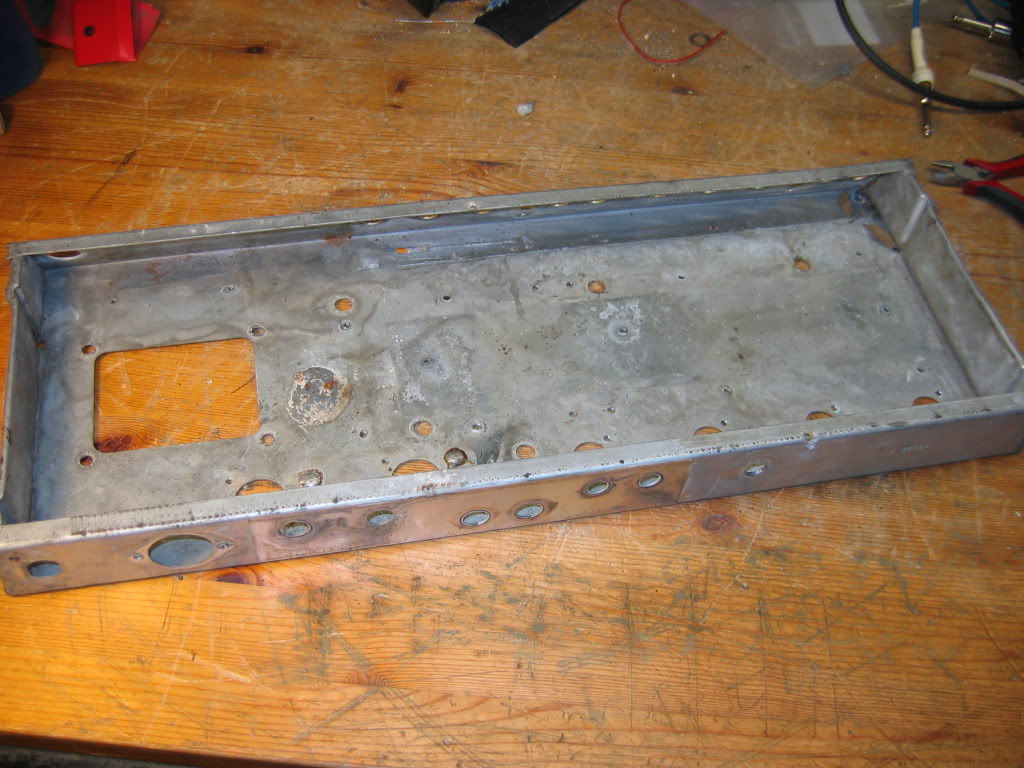
It was rough, to say the least. Nothing was really left of the original amp but the chassis. Aside from what were a series of ill advised modifications over its life, the amp had clearly been submerged in water at some point. This was going to be a BIG job.

Here, we can see the Bass Instrument input section of the tag board. Many components are missing and some attempt was made at chaining together both channels permanently to create a cascading gain arrangement. It always bugs me when people try to ask these amps to be something they’re not. In their stock form, they are perfect.
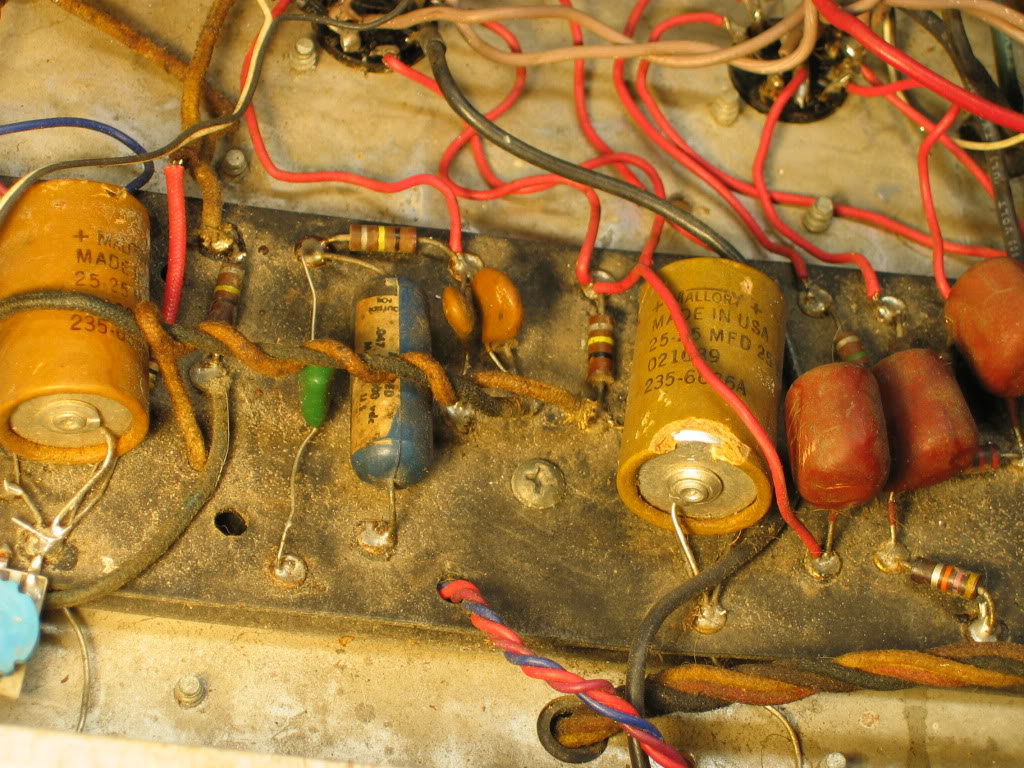
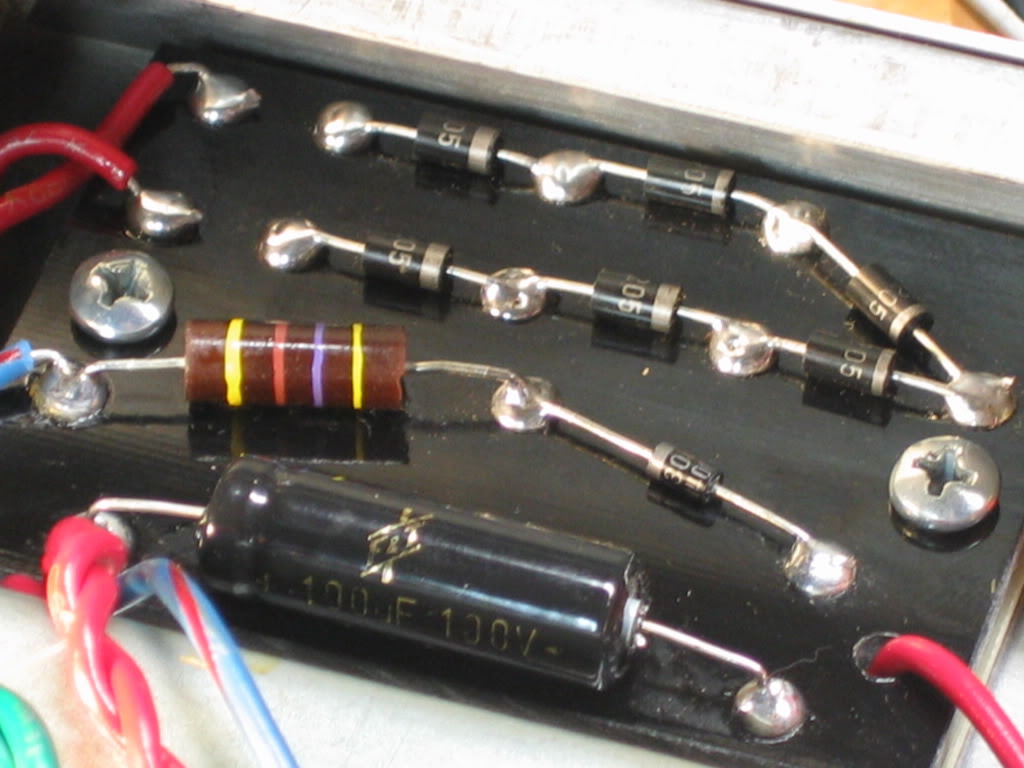
A bit farther down the signal chain we see the big, brown dual bypass capacitors and a few stray original resistors. There isn’t much here to be salvaged and in fact only the blue “sausage” cap in the center would stay in the amp after the work is done.
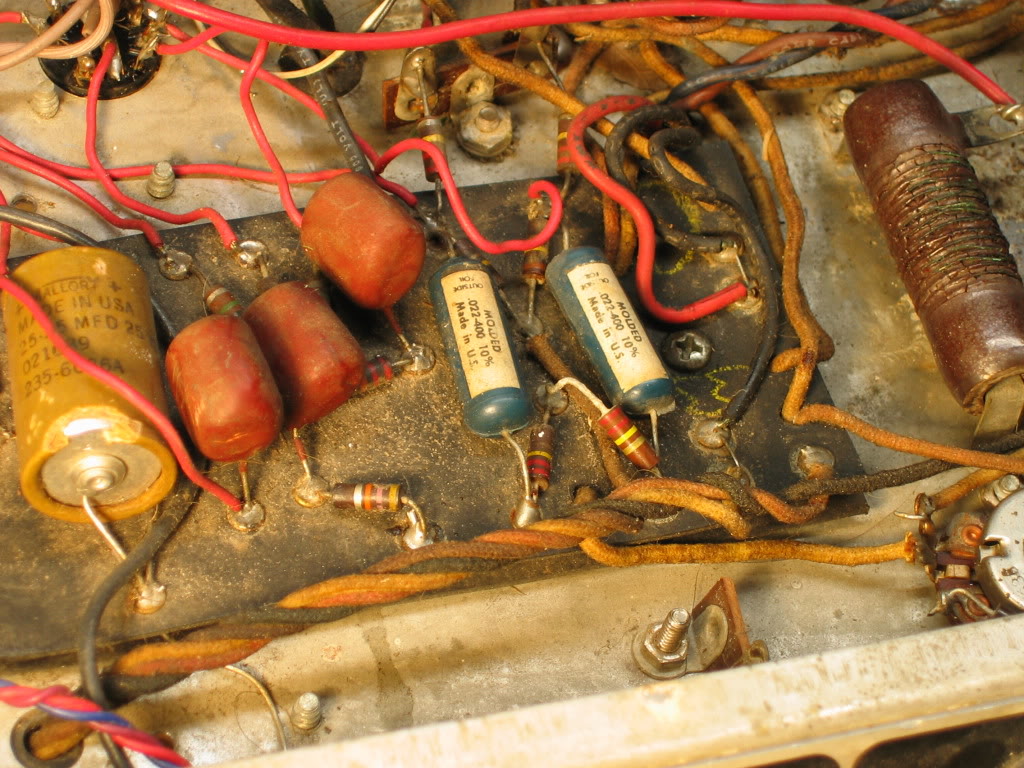
Now we’re looking a bit farther down the line. Some real head scratchers here. I never could figure out what they were trying to do with that huge wire wound resistor at the end. It’s clear at this point that the tag board is unusable and will have to be replaced. And the chassis is coated with a thick, chalky residue leftover from what ever watery disaster it has lived through.
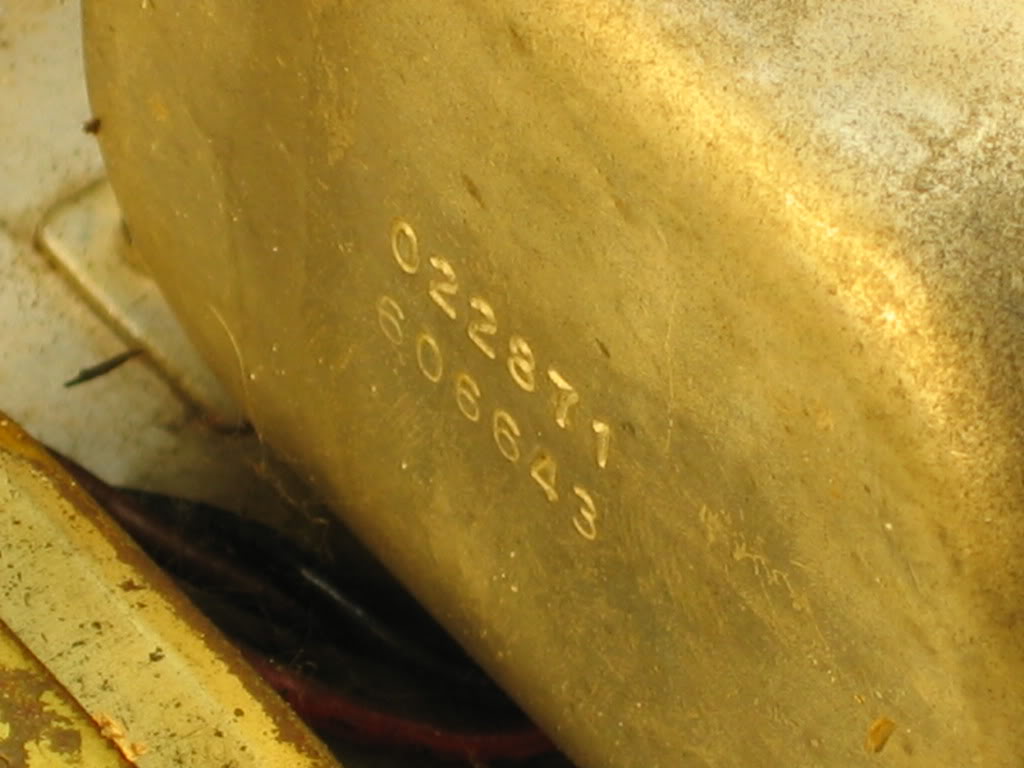
This is the end bell of the output transformer with its code telling us that it’s a ’66. I was hopeful that this would remain in the amp and as it turned out it worked for a day or so before eating itself in a wonderful sounding fit of rage. Ah, well. Those are the breaks.
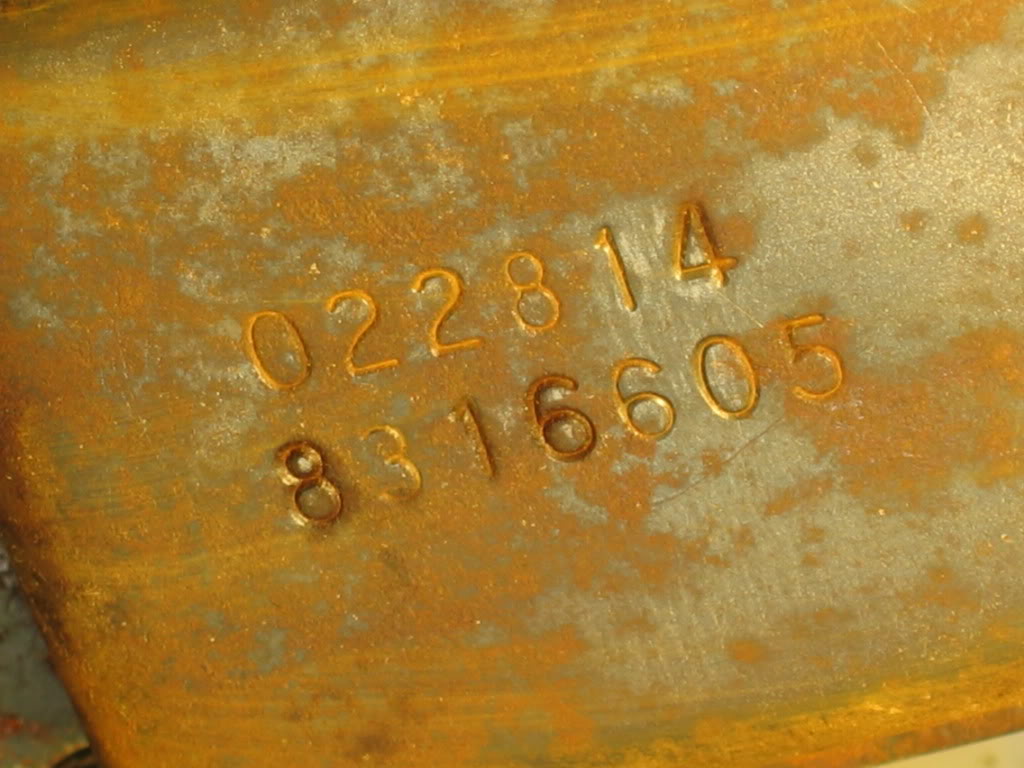
Here is the code on the power transformer which unfortunately never even made it to the hopeful stage. It was dead from the start.

And here is the filter choke, also from 1966. It ended up surviving the rebuild process and functions to this day.
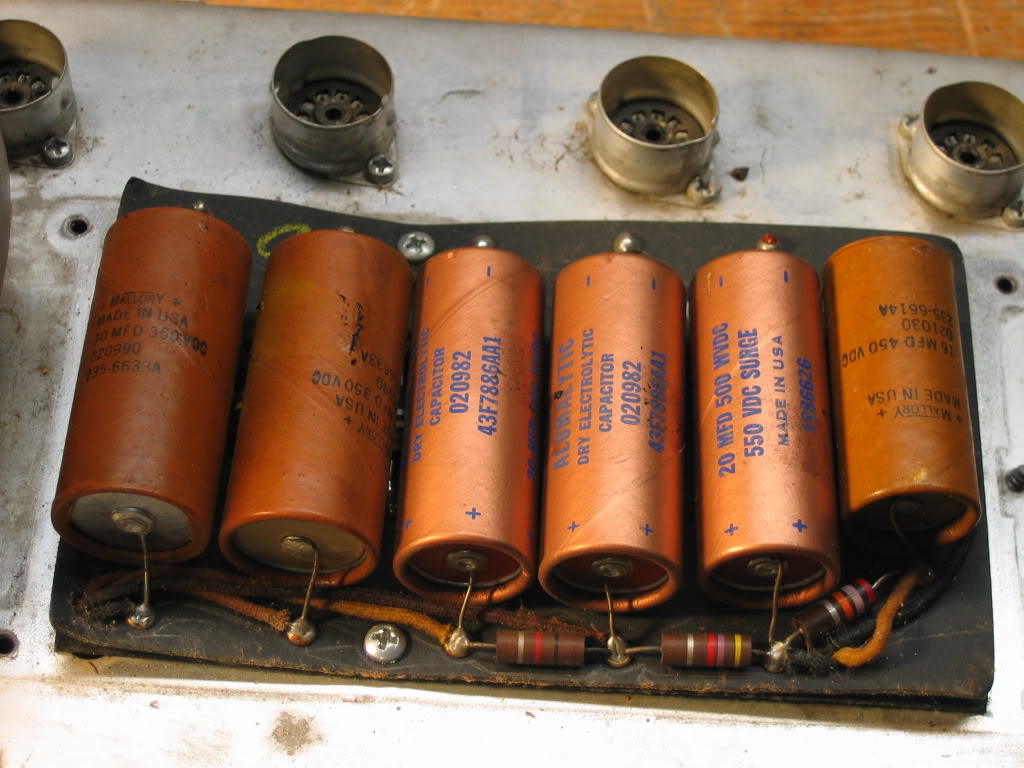
This is the filter capacitor supply board which is mounted on the underside of the chassis and covered with a metal “doghouse” cover (not shown). These are original to the amp and will need to be replaced. The tag boards will also have to go. When these old boards get soaked and dry out over time the develop stray capacitance that can cause all kinds of problems.
The first step in this process was to completely gut the chassis so it can be carefully cleaned and prepared for rebuilding. The process involves particular tools, elbow grease and patience. But the results are worth it. You don’t want to get too aggressive because you want to retain the plating in order to prevent rust in the future.

Notice all the concentrations of rust under the OT and choke holes. It’s surprising that the choke survived.
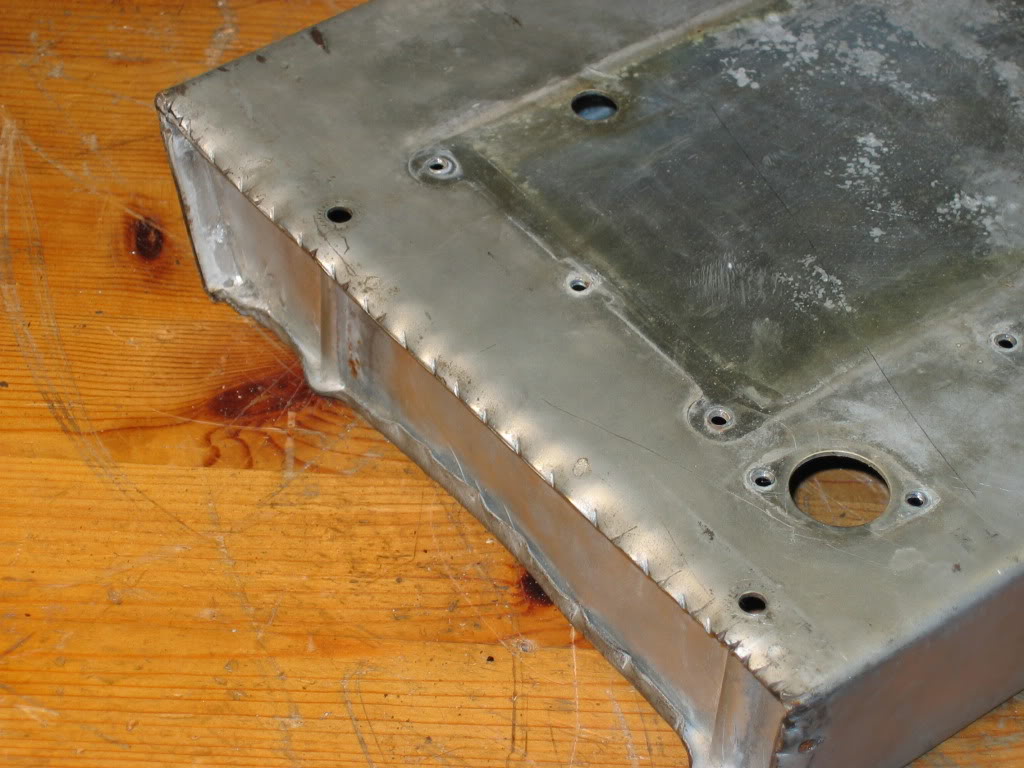
For some reason someone felt the need to hammer in the edges of the chassis perhaps in an attempt to make it fit in a smaller cabinet or even a rack mount situation. Not much to be done about it now and it won’t show in the new cabinet anyway.
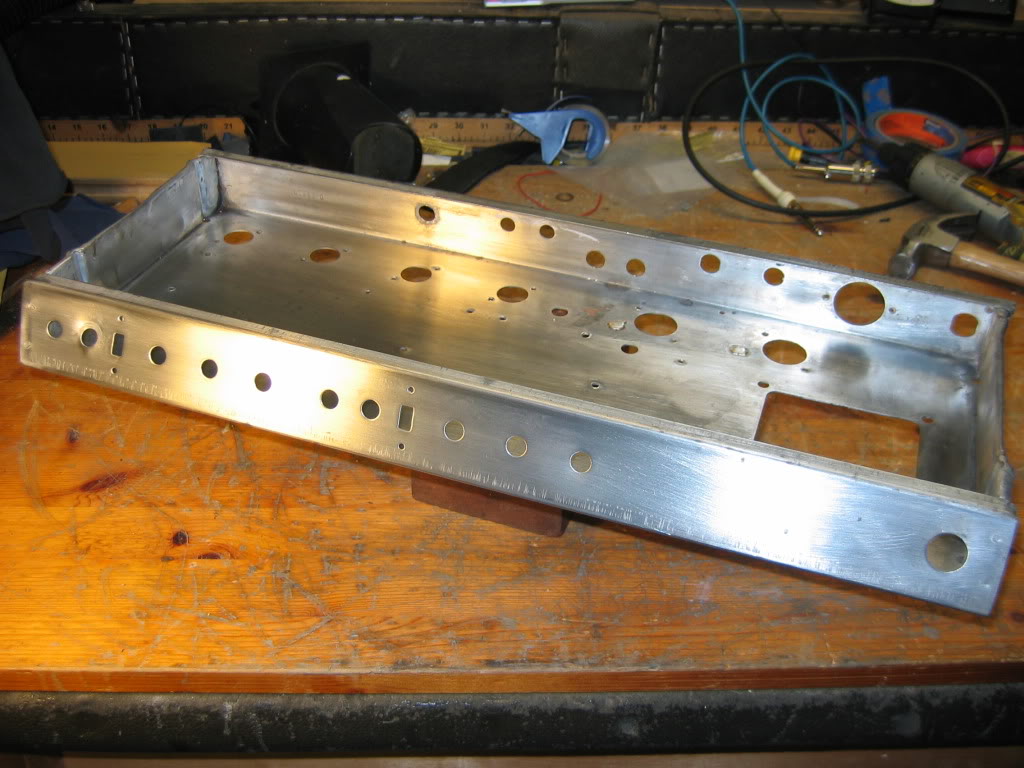
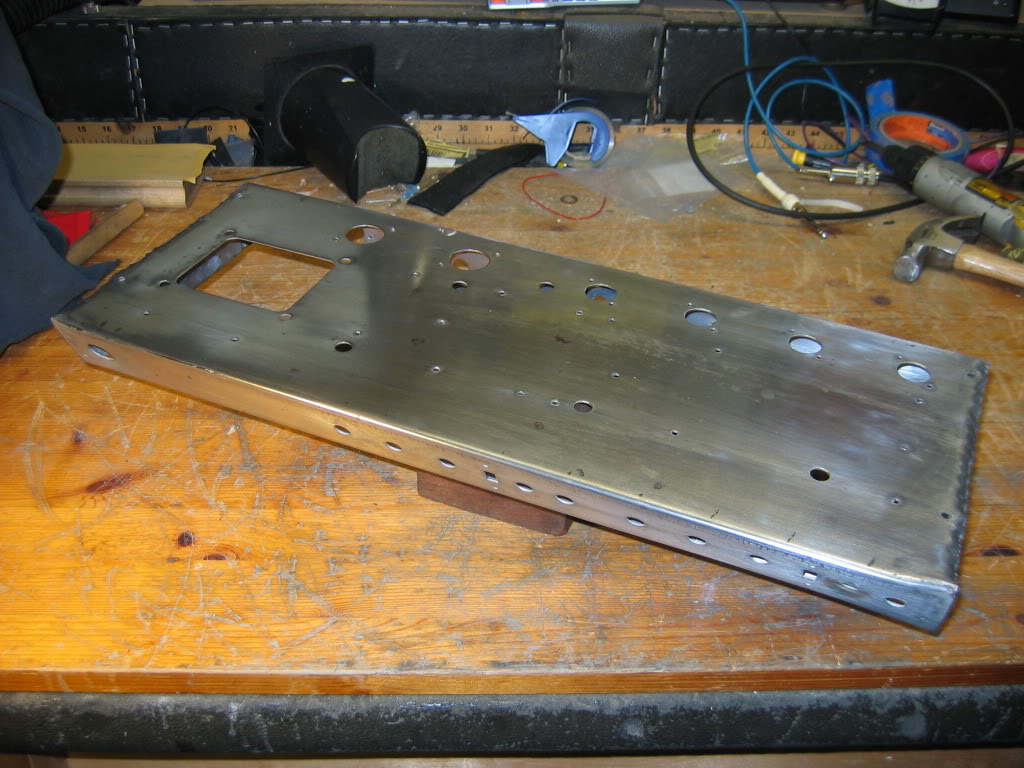
The chassis is now clean, prepped and ready to begin the loading process.
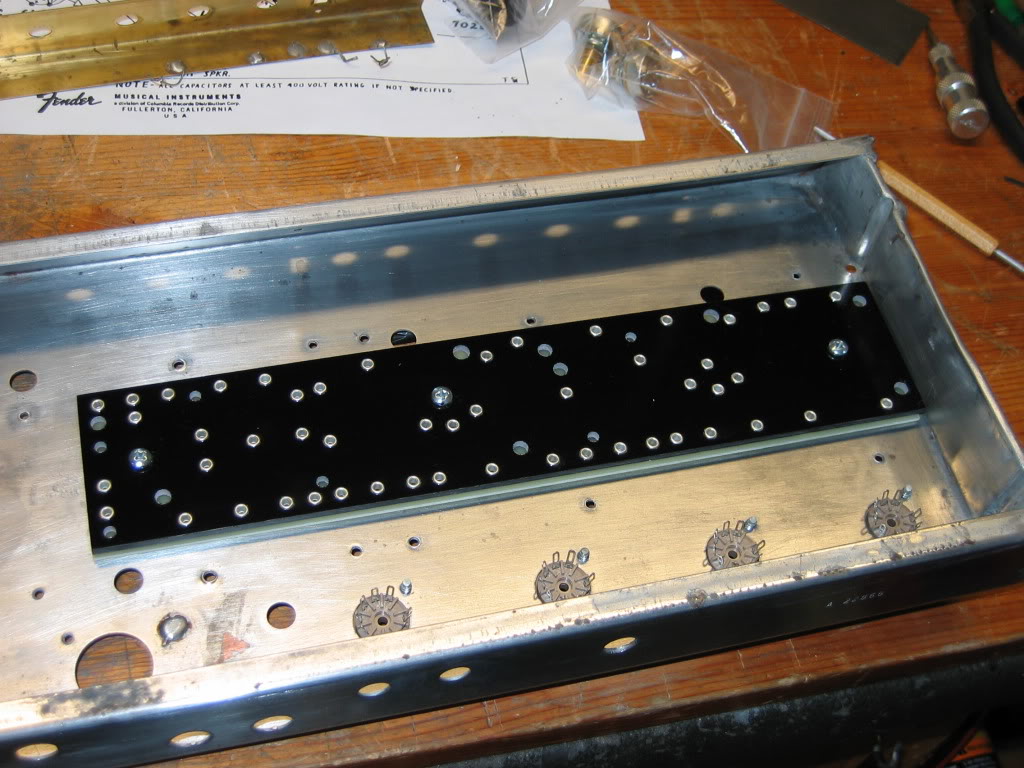
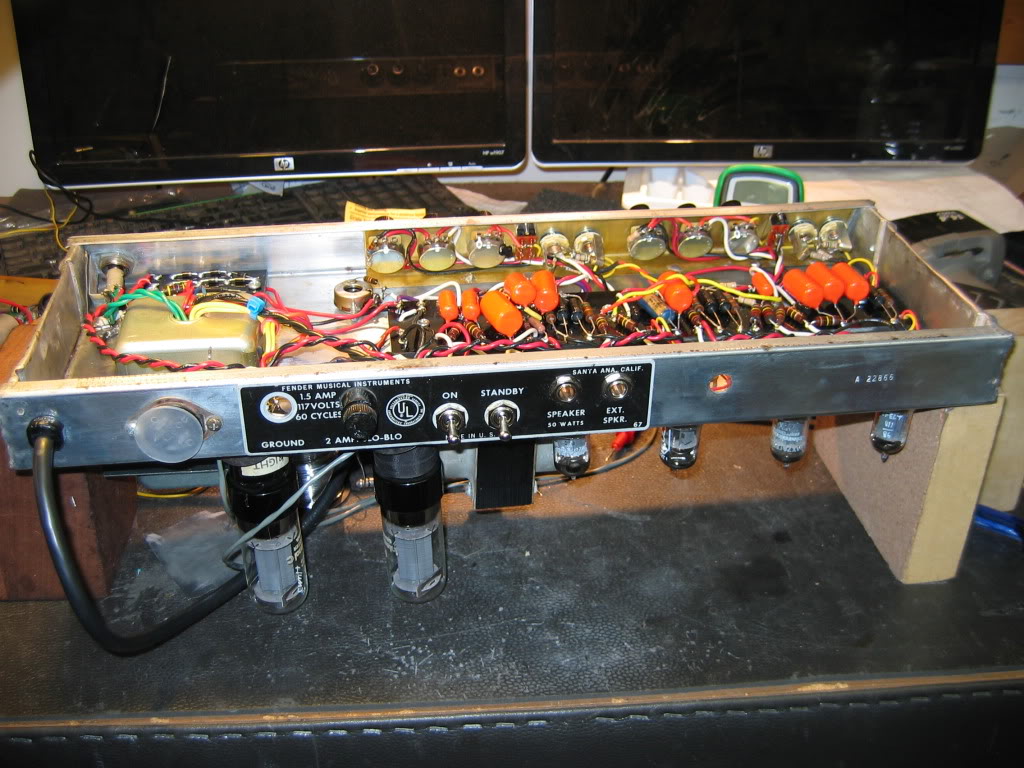
The tube sockets are mounted and the board is ready for populating. I acquired these very nice, thick tag boards from Watts Tube Audio in St Petersburg and they are a dream to work with. The circuit should be toneful, quiet and easily serviced in coming years.
The bias supply / rectifier board was also replaced. All brand new components should run faithfully for years.
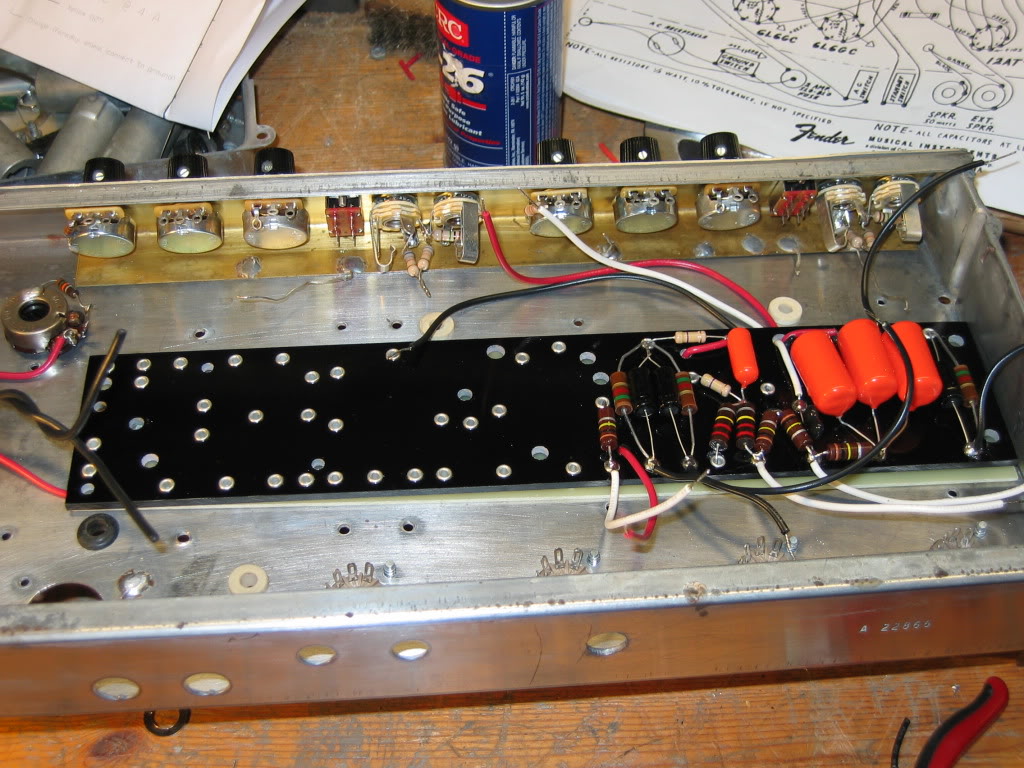
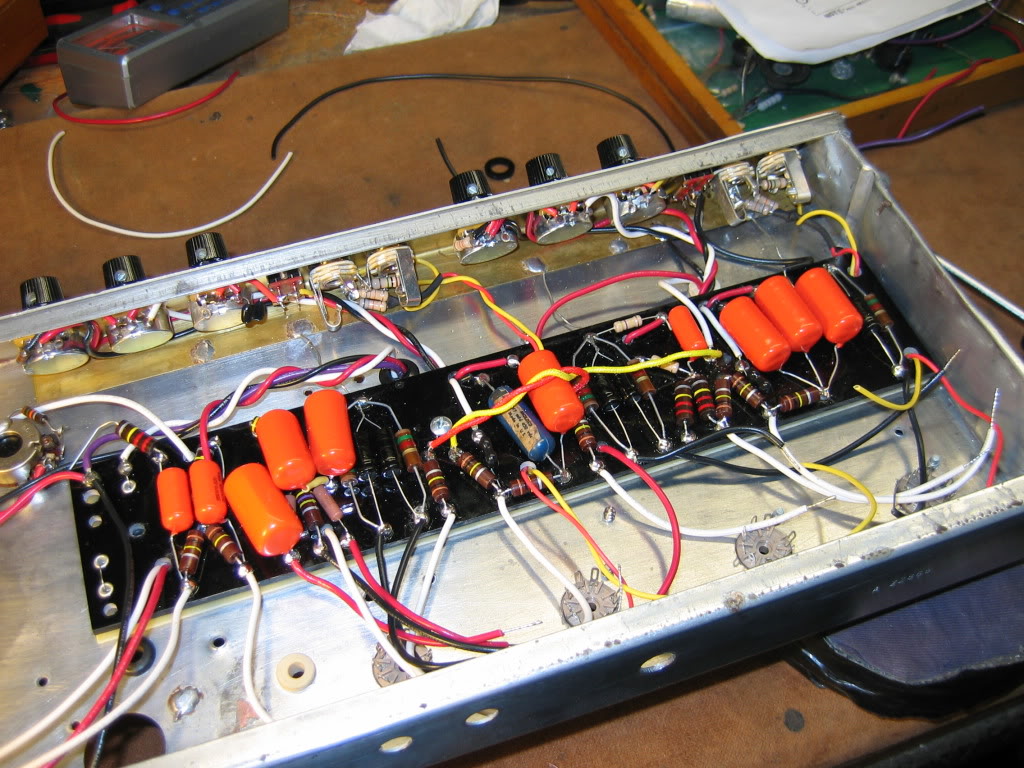
Pots and jacks are mounted in the front and the Bass Instrument channel is populated. At this point, it’s starting to look like an amplifier again. I used Sprague Organe Drop capacitors everywhere except for the one original Mallory blue sausage mid cap carried over from the original amp. Also of note is the original brass grounding plate that is mounted under the pots and jacks. This plate is used for most of the grounding duties other than the transformers and AC safety ground.
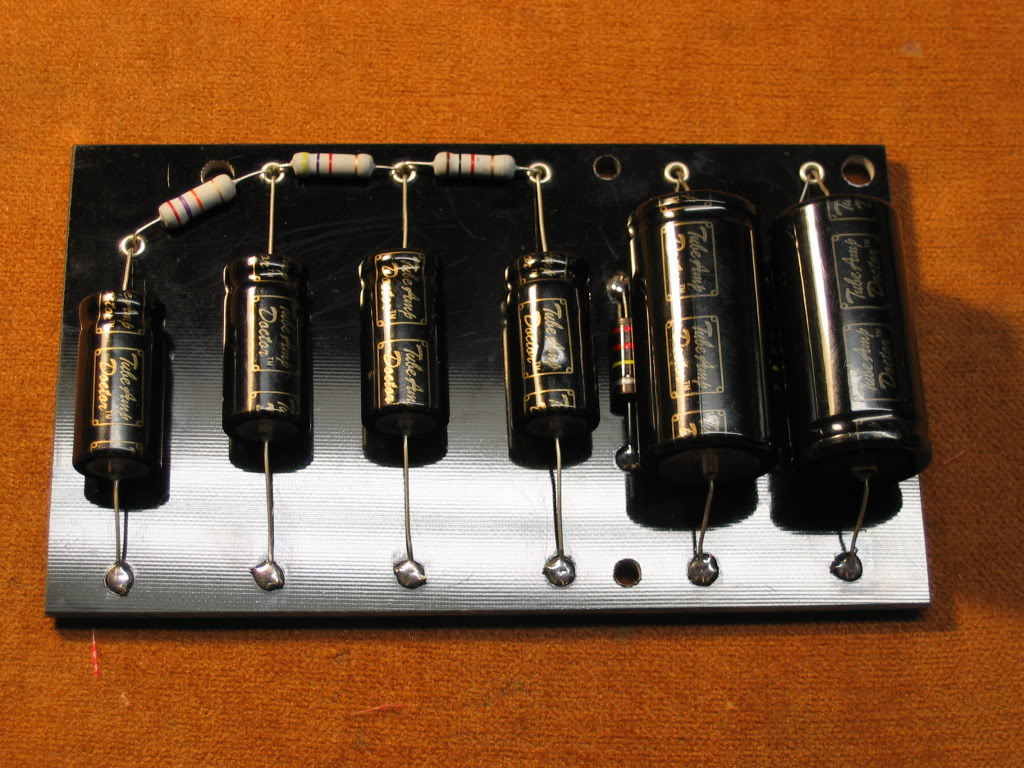
Here is the new filter capacitor supply board ready to get mounted on the underside of the chassis.
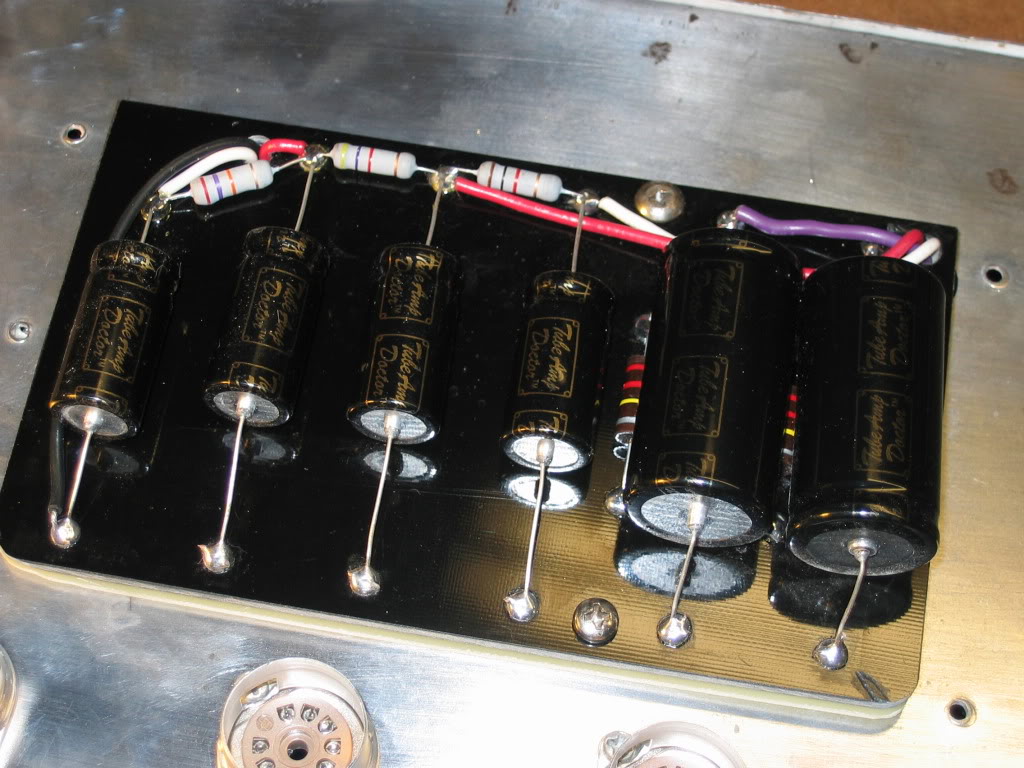
And ready for action.
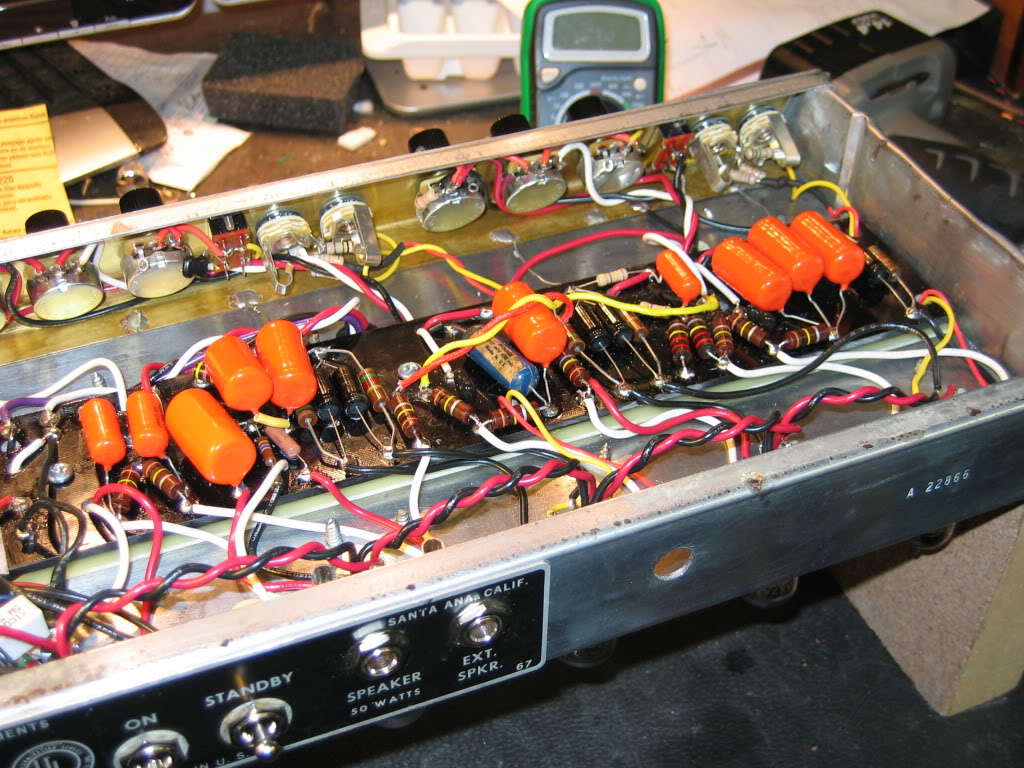
At this point, we are ready to wire up the tube sockets and run the filament wiring for the tubes. I had a stash of nice old Sylvania 6L6s which provided the power tubes.
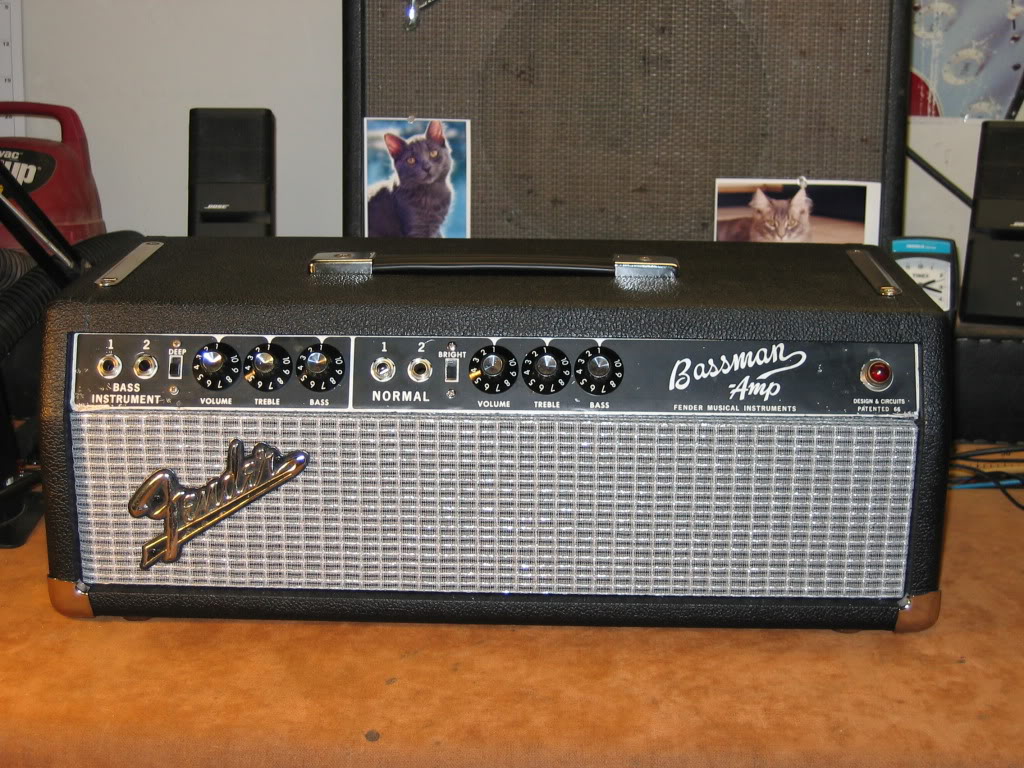
At the end of all this, we have a great sounding vintage tube amp completely hand wired and loaded with the best components. Was it worth it? Yeah, it was. I learned a lot. I un-learned a lot. And I’d do it again in a hot minute.